Jan 7, 2026
Bolt x Gmail: Connect Bolt to Gmail to send emails automatically
Send transactional emails straight from your app to a Gmail inbox with Bolt.
Educational

Want your Bolt app to send welcome emails, contact forms, payment reminders, payment confirmation emails, password resets, receipts, and other important stuff?
With Pica x Bolt, you can connect Bolt to Gmail in minutes to send transactional emails straight from your app to your user’s inbox.
All we’ll need is:
Bolt + Pica + Gmail
One connection
One prompt
Should take less than 10 minutes.
By the end of this walkthrough, you’ll have:
A Gmail connection configured in Pica
A working Bolt app that can send transactional emails via Gmail
A clean email template you can customize in seconds
The exact setup that avoids the most common “why isn’t this sending?” errors
Let’s do this.
Step 1: Connect Gmail in Pica
First, we’ll need to connect Gmail to Bolt via Pica. A quick refresher if you’re not familiar: Pica is basically the connector that let’s Bolt talk to Gmail (and 170+ other tools) securely.
Building a new integration in Pica is simple.
Here’s how it works:
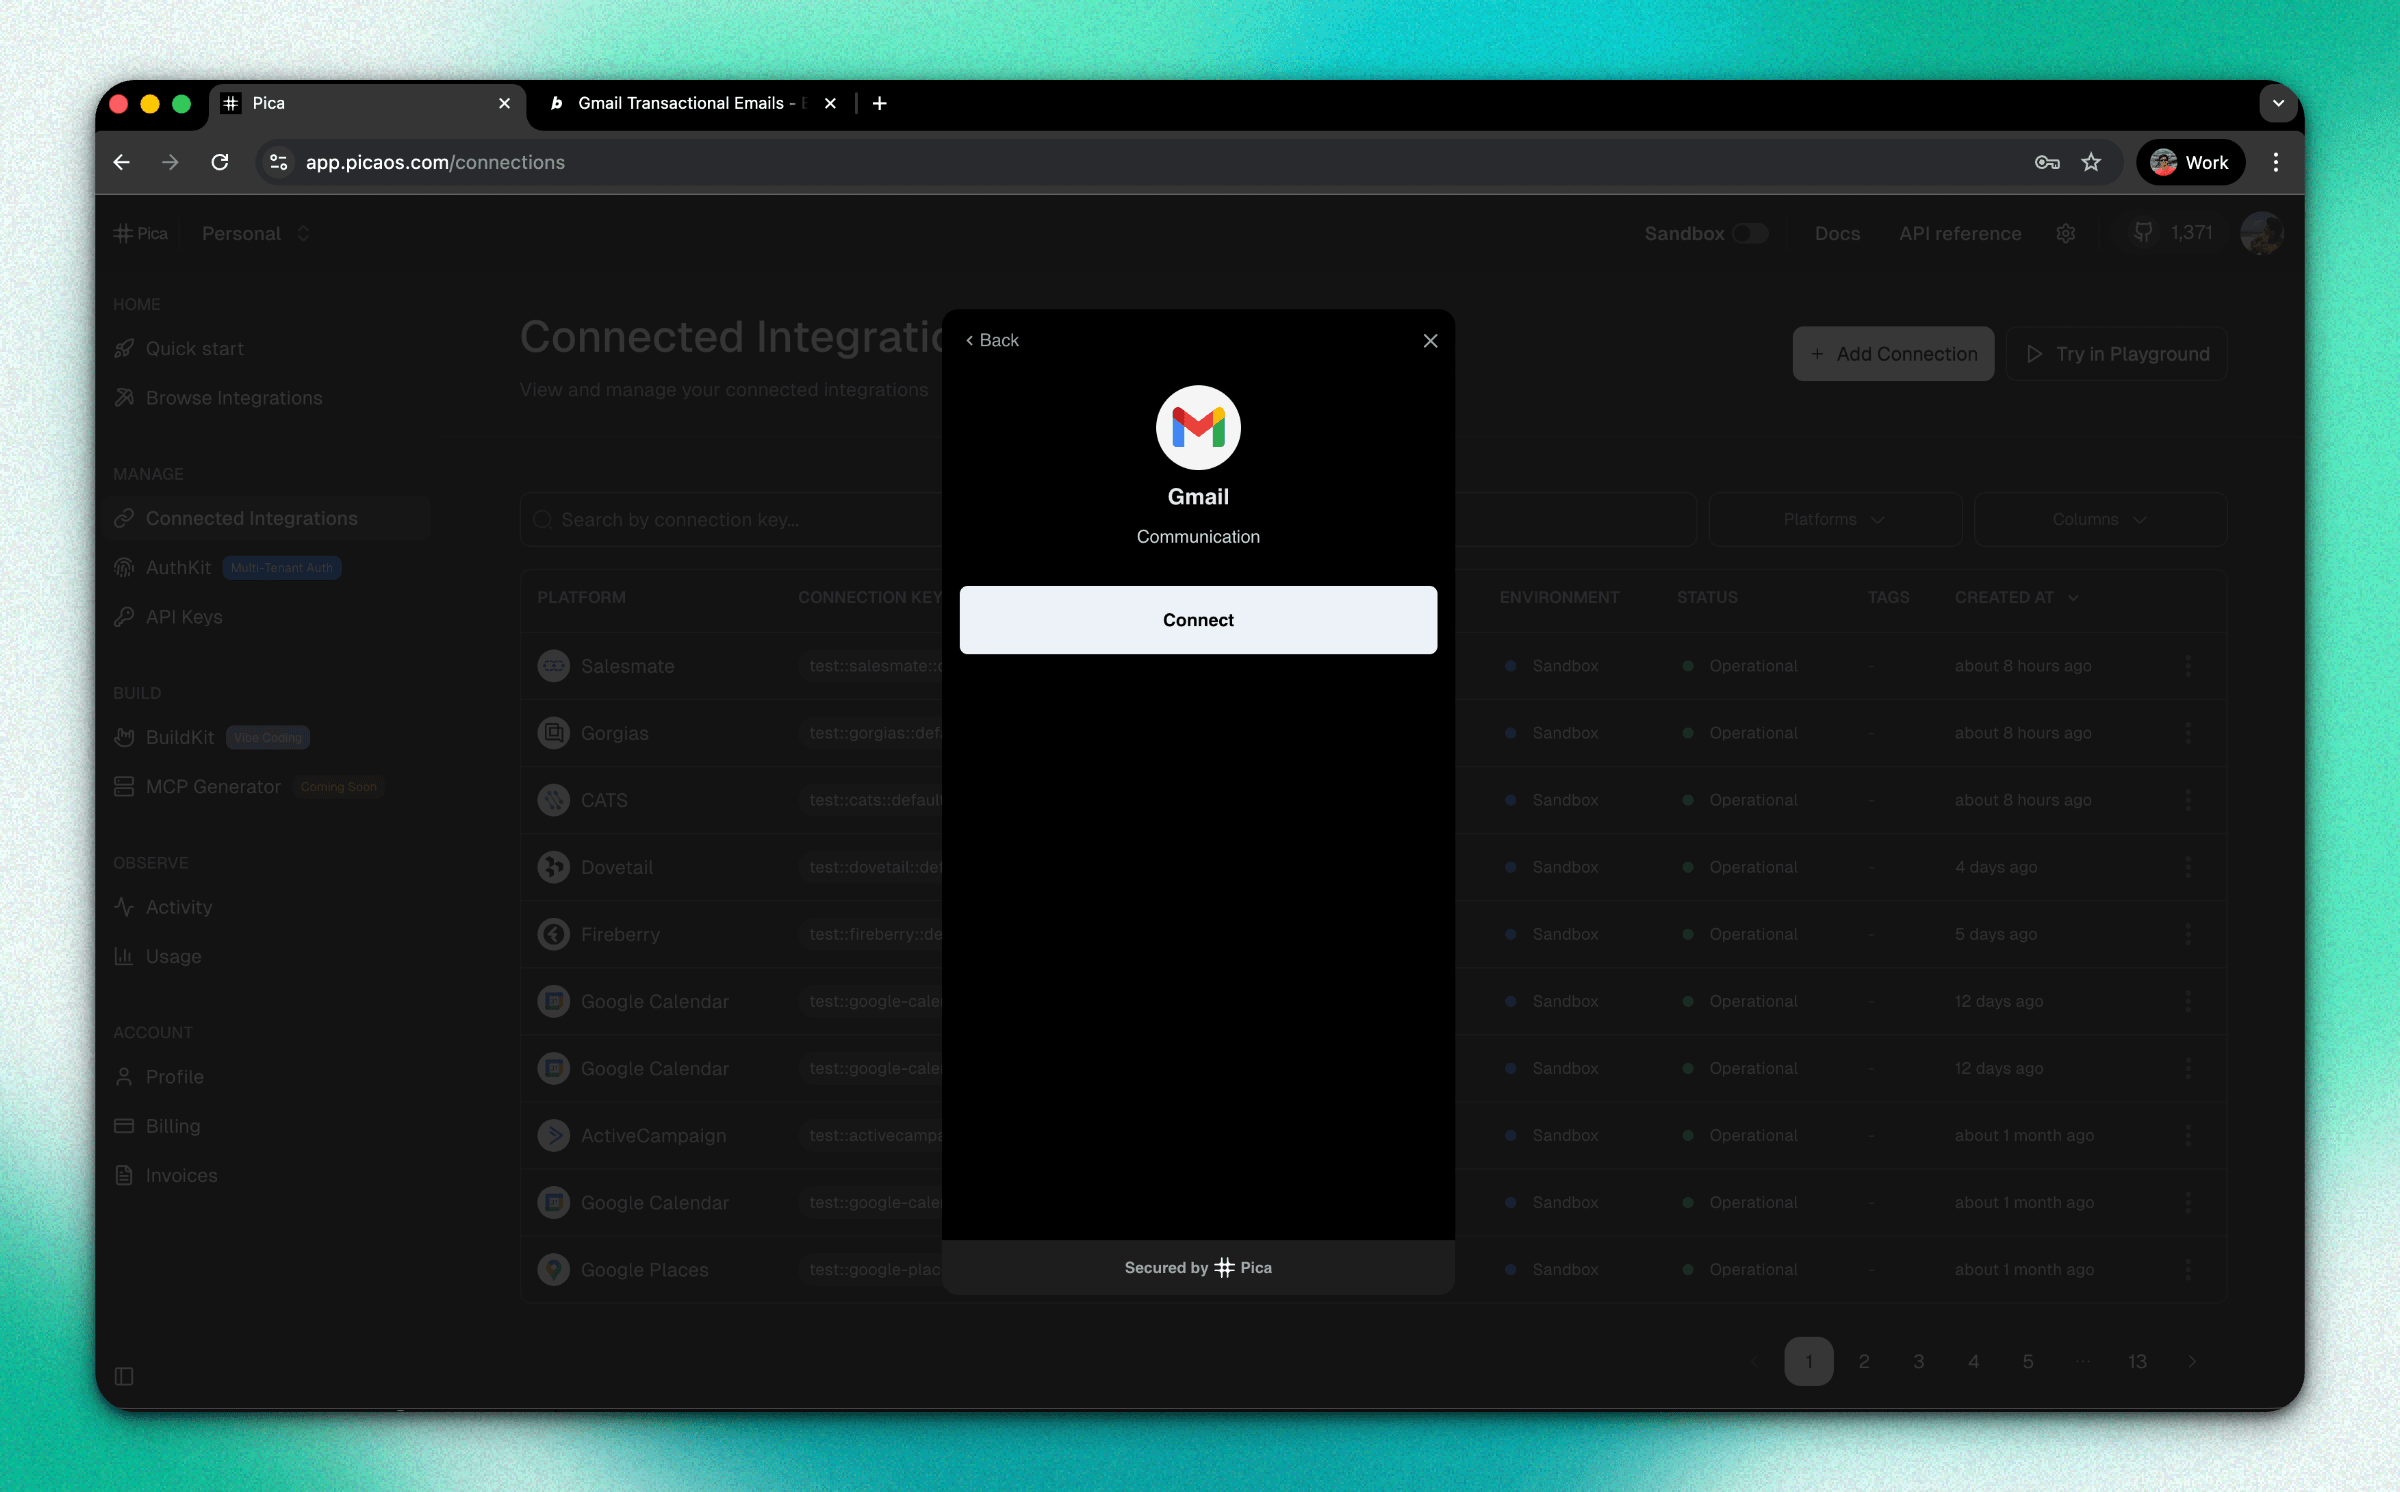
Go to Pica Connections:
app.picaos.com/connectionsClick + Add Connection
Select Gmail
Authenticate with your Google account
Save your Gmail connection key (you’ll need it in Bolt)
The Gmail account you connect to Pica will be the one that sends the emails from your app.
Step 2: Generate the Right Prompt with BuildKit
Next we’re going to use Pica BuildKit.
BuildKit is a nifty tool that allows you to generate the exact integration prompt Bolt needs to connect to Gmail. This prompt will include the right verbiage to handle everything from auth, error handling, env vars, and HTML template support.
Here’s how it works:
Go to BuildKit:
app.picaos.com/buildkitType: “Send a welcome email via gmail”
Copy the prompt BuildKit generates
All you have to do is drop that prompt right into Bolt.
Step 3: Paste into Bolt + Tell It What to Do
Now, go into your Bolt project and write a line of instruction about what you want your email to do and paste in the BuildKit prompt.
For example, here’s what your full prompt would look like if you wanted Bolt to send contact forms to your Gmail account every time a new user completed the signup flow on your website.
Prompt:
“When a user submits this contact form, send an email to [email protected] with their name, email, and message. Here’s how you send an email via Gmail: [PASTE BUILDKIT PROMPT]”
Bolt will automatically generate the backend logic for you and create an Edge Function to seecurely run the integration.
Step 4 (IMPORTANT): Set Up Your Bolt Database First
IMPORTANT NOTE: If your send fails, this is probably why: you may have forgotten to set up your Bolt database first. Edge Functions require a Bolt database, and without one your email will fail to send every time.
So, before you try sending anything, click “Database” in Bolt to start your Bolt database. It’ll take just a minute.
Once your database in set up, you’re ready to create functioning integrations and your emails should go through.
Step 5: Add Your Secrets to Bolt
This is the trickiest part, and it’s still quite simple. You just need to snag two environment variables from Pica and add them to Bolt to make the integration work.
Here are the Pica secrets:
PICA_SECRET_KEY
Get it from:app.picaos.com/settings/api-keysPICA_GMAIL_CONNECTION_KEY
Get it from:app.picaos.com/connections
Now, we just need to add them in Bolt:
Click the Settings icon
Go to Secrets
Add:
PICA_SECRET_KEYPICA_GMAIL_CONNECTION_KEY
Save
Restart your app

Your Bolt project is officially configured to send transaction emails to Gmail.
Step 6: Test It
Send a test message from your form or signup flow.
If it fails, here’s what likely went wrong:
Your Bolt database wasn’t created yet
Secrets were added in the wrong place
Connection key is incorrect
Gmail connection is inactive
Double check that you created a database, added your secrets to Settings > Secrets in Bolt, copied the keys correctly, and that Gmail isn’t down.
Then retry.
If everything is connected properly, you’ll see “Message sent successfully” when you submit your form. Plus, the email will be in your inbox.
Step 7: Customize the Email Design (In Plain English)
Once your Gmail integration is up and running, it’s time for the fun part: making your email look however you want it to.
Chat with Bolt like you normally do to customize your email to match your brand and visual identity.
For the purposes of our example, you can prompt Bolt to send you distinctive contact form emails that stand out in your inbox.
Prompt:
“Design the email that’s sent to have a header section with a red gradient that says ‘New Contact Form Submission.’”
Bolt will update the HTML template for you automatically, no email designer required.
Bonus: Once Gmail Works Once, Bolt Remembers
The best part of Bolt x Gmail is that once you’ve used Pica to set up the integration once, you’re set for life.
From here on out, you can just say “When a user upgrades, send them a receipt”, oir “When a payment fails, send the user a reminder”, and Bolt will reuse the same Gmail logic to execute.
You don’t have to go back into BuildKit again.
Ready to send emails right from your app? Build it with Bolt.


